Installation Instructions

Job Site Conditions & Preparation
The subfloor must be sound and meet minimum building codes. Uneven joints, cupped boards, loose boards and other major irregularities must be fixed prior to the installation of Starply. The subfloor must be cleaned and dry, with all debris removed. Do not install over strip wood floors with boards wider than 3 inches.
Underlayment Layout
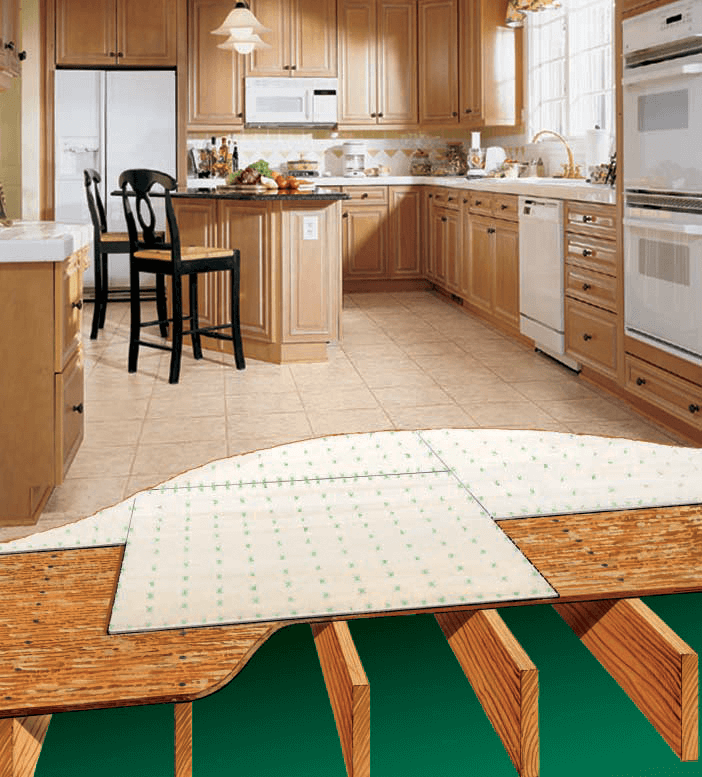
Starply seams should be offset both ends and sides with a minimum of 18″. Use full sheet where possible and lightly butt factory edge to factory edge.
Cutting & Fitting
Cut and fill using a jigsaw or circular saw. Scoring before cutting can reduce splintering. Allow 1/8″ to 1/4″ at walls and other vertical surfaces for expansion. A square layout can be best achieved by laying out minimum of three full sheets in stair step fashion before securing or fastening.
Securing and Fastening
Use only narrow crowned galvanized stapled or ring shank nails. The fastener length should not exceed the total thickness of the subfloor and Starply. If using nails, the nail head should not exceed 1/4″ in diameter and should be flush with the Starply surface. Panels should not be fastened every 2 inches at the seams, staying back 1/2″ from the edge, and 4 inches on the field. Work diagonally across panels one at a time to fasten to avoid seams openings or buckling.
Patching and Leveling
Sanding may be required if seams are not flush. Where patching us required use only a polymer modified-cement based patch. Patch must be thoroughly dry and smooth before installing the floor.

